After Chris uploaded the TButton library, he and I got to talking about what other button apps would be neat to pull together for the Slide. With a little inspiration from Ladyada’s Digg Button (thanks Limor!), Chris and I started writing an Arduino-based Digg Button for the TouchShield.
I guess it’s a little ironic that a completely virtual, digital button on a website became a distinct physical button on a dedicated device…and now I’m turning that physical button back to a virtual one- but still on a dedicated device. Well, here goes!

Mark, Thom, and Alain all used image-based icons as buttons, which is the first thing I decided to do. So I went over to Digg…
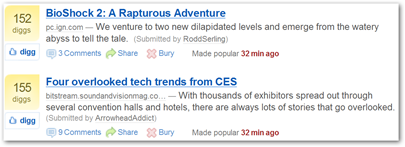
…zoomed in, and used WinSnap to grab the screenshots of the iconic Digg button into a bitmap for the counter:

and the “digg button” itself:

These are the exact bitmaps I used, so they’ll work perfectly when placed in the same folder as the Gadget file, or where the code is located.
Using the latest Antipasto Arduino IDE, I coded the following and uploaded it onto the TouchShield Slide.
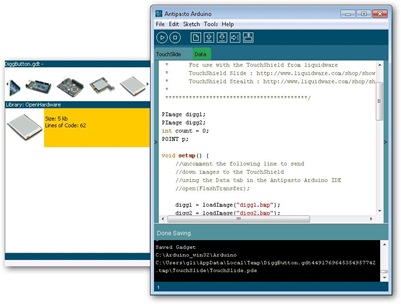
The first chunk uploads the two images to the slide, and sets the rest of the background to white:
PImage digg1;
PImage digg2;
int count = 0;
POINT p;
void setup() {
digg1 = loadImage("digg1.bmp");
digg2 = loadImage("digg2.bmp");
background(255);
image(digg1,80,0);
image(digg2,80,160);
drawNumber(count, 120, 35);
}
Here’s what it should look like when the pictures are uploading correctly: 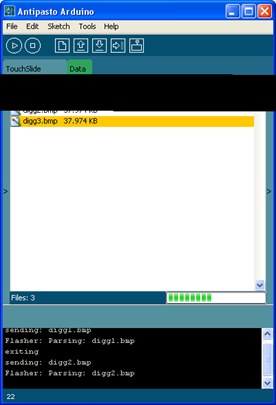
Then I added a few lines to pick up the button presses, and have that increment the counter accordingly.
void loop() {
if (touch_get_cursor(&p)) {
count++;
drawNumber(count, 120, 35);
delay(50);
}
}
Finally, the last part of the code reads out the state of the counter in 7-segment font.
void drawNumber(int number, int xPos, int yPos) {
int counter;
int16_t h,t,o;
h = number / 100;
t = (number - (h*100) ) / 10;
o = number - (h*100) - (t*10);
stroke(115, 105, 38);
fill(255,241,159);
if (h) {
Display7SegmentDigit(xPos,yPos,h,25);
}
if (t) {
Display7SegmentDigit(xPos+32,yPos,t,25);
}
Display7SegmentDigit(xPos+32+32,yPos,o,25);
}
The finished project looks something like this:
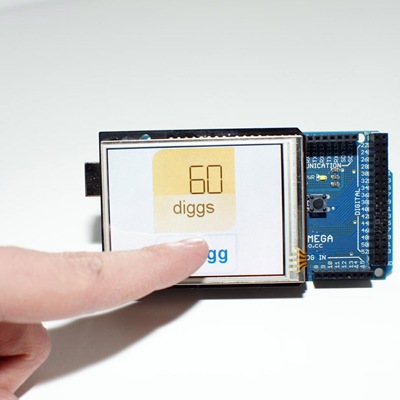
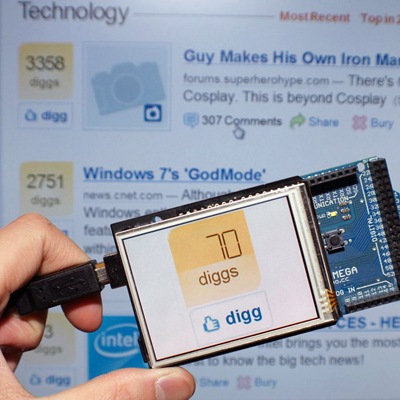
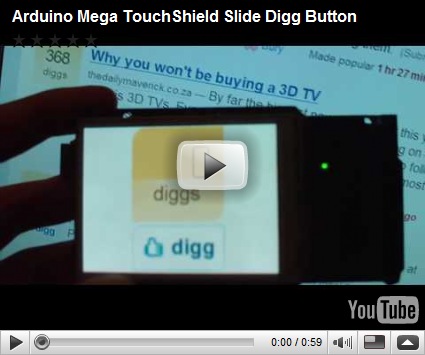
And here’s a video of the whole thing in action:
It’s a simple project to get started on using images as buttons on the Slide. The full code can be downloaded over at the App Store.
4 comments:
whoa nice :-) where do you guys find the time?!
Looks good, how do you get such clear video/photos ? The colors don't come out on my video camer, just don't know where to shine the light.
I'm worried I've broken my touchShield slide... testing and running things, i've uploaded a program which crashes... screen flashes on/off, ive done this before. The problem this time is that pressing the reset on the side dosn't hold the TouchShield in reset mode to allow me to upload. Help :( Can I fix this ?
Sometimes I've seen this if I partially upload a sketch or send a whacky program with a divide by zero.
Anyways, I usually hold down the program button while powering on the TouchShield. This technique is a sure way to get it into the program mode before starting the troubled sketch.
@ndudman - if it's not working out, i'll get you a new slide ASAP
Post a Comment