The google guys knew what they were doing, or at least did a great job building something pretty cool that works. Chris and I have been spending a decent amount of time learning how to program Android, and so I figured I'd write up a brief tutorial for anyone out there that doesn't want to spend nearly as much time as it took us to figure it out.
The first step in programming Android is to download the Android SDK
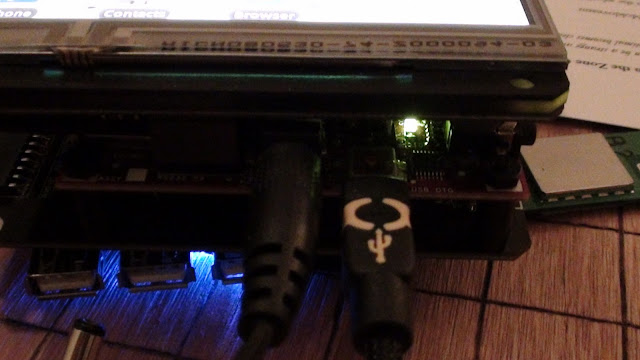
On Ubuntu Linux, I downloaded the SDK into the home directory, and unzipped / untarred it. The next step is to get the Android DIY Starter Kit or the Hardware Development Kit recognizing on the USB port. The next step involves plugging a USB cable into the side of the gadget. Once it's in, run the command:
lsusb

I get a bunch of Bus 001 through Bus 005, followed by Device blablabla information. Here's the trick: you want to find the ID of the Android device, so run lsusb while the device is unplugged, and then run it again. On my computer, the line that changes when the Android gadget is plugged in is:
Bus 001 Device 004: ID 18d1:9018
Ok. Now create a file called "51-android.rules". See the part in the line above that says, "18d1"? and "Device 004"? That's idVendor and idProduct respectively. So change those values in the file content below:
SUBSYSTEMS=="usb"
ATTRS{idVendor}=="18d1",
ATTRS{idProduct}=="0004",
MODE="0666"
Then copy the file here:
/etc/udev/rules.d/51-android.rules
This is a rather convoluted and manual way to get the Ubuntu Linux OS recognizing the Android Gadget as a native Android device. Now, you can cd into the SDK directory, and type:
./adb devices
And the device should show up. This is what I get:
List of devices attached
20100720 device
Now I can use this command to get access to the Android Shell:
./adb shell
To copy files on and off of the Android gadget, use these commands:
./adb push
./adb pull
./adb --help
And most importantly... if you have an APK downloaded or compiled for Android, and you want to install it, just use:
./adb install blabla.apk
Voila!

No comments:
Post a Comment