Last week, I talked about the light sensors in my iPhone and old Blackberry that would automatically brighten or dim my screen based on the amount of ambient light. (Of course, that’s not to be confused with IR emitter/sensors that shut off the screen altogether when the phone is held to the face). Here’s the diagram of the iPhone that I borrowed from Wikipedia: So Will emailed me, suggesting that maybe something like that could work with the TouchShield Slide and the AMBI Light Sensor, and that it could automatically set brightness based on ambient light to conserve energy.
The basic idea would be to read data from the Light Sensor using the Antipasto Arduino IDE’s HardwareSensor library, and then use the Slide’s setBrightness() function to dim or brighten the screen based on the amount of ambient light.
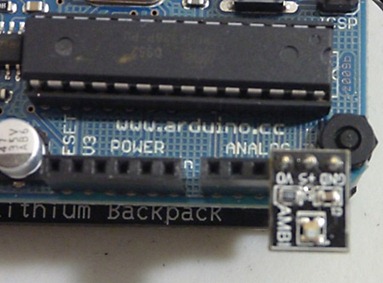
First, I placed the light sensor on the Arduino’s analog pins 3, 4, and 5. Analog pin 3 is where the light sensor will output information. I used Analog 4 as Vin (High) and Analog 5 as my Ground (Low).
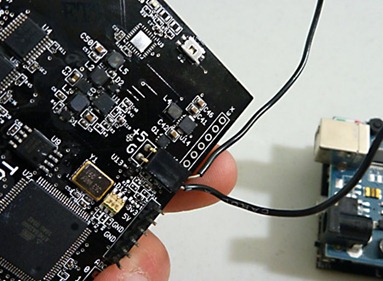
 Then I plugged the Lithium Backpack’s +5V and Gnd directly into the power pins on the TouchShield Slide…
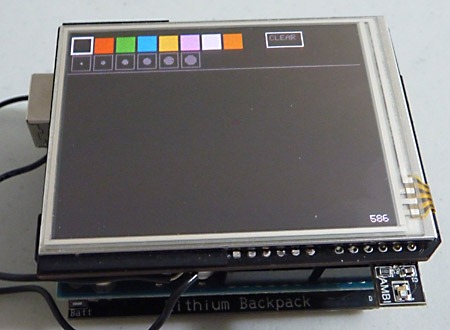
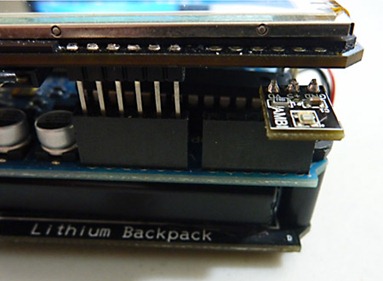
 …and mounted the TouchShield Slide onto the setup, which works nicely since the Slide doesn’t use any of the Arduino’s analog pins:
Then I modified code from the Light Sensor Cheatsheet (PDF) to read data directly from the Light Sensor to the Slide. This snippet below goes to the Arduino:
#include <HardwareSensor.h>
void setup() {
Serial.begin(9600);
Sensor.begin(9600);
pinMode(18, OUTPUT);
pinMode(19, OUTPUT);
digitalWrite(18, HIGH);
digitalWrite(19, LOW);
}void loop() {
int Light = analogRead(3);
Sensor.print("Light", Light);
Serial.println(Light);
}
Finally, I added a snippet of code to the Paint program that comes pre-loaded on the Slide (the full code is over in the App Store here). For the code that gets sent to the Slide, the HardwareSensor library needs to be included as well.
Then the following snippet goes into the loop() function:
// Light Read
if (Sensor.available()) {
int Light;
Light = Sensor.read();
stroke(255);
text(Light, 295, 230);
}// Change screen brightness based on light
if (Sensor.available()) {
int Light;
Light = Sensor.read();
if (Light < 500) {
setBrightness(4);
} else {
if (Light > 500) {
setBrightness(0);
} }
}
This code prints out the light reading as a number between 0 and 1000 on the lower right corner of the screen. Ambient light in my room is somewhere between 500 and 600, so I wanted the screen to brighten if it was any darker. Here’s a shot at 586, where the OLED is readily legible:
 And here’s a shot of the Paint program when the Slide’s screen brightness is automatically boosted at 396, when the room is a little dimmer. It’s actually much clearer by eye, but because of the low light, my point-and-shoot camera had a longer exposure (part of the reason for some blurriness, the other being my shaky hands :)
I also took a video demo of the auto-screen brightness function in action:


1 comment:
cool! on car dashboards, usually the light logic is reversed... when it's bright out, the lights are really really bright, because there's so much ambient light that it washes out the screen. on the other hand, in the dark, there's less competing light around the dashboard, so you can dim the screen, because it's usually easier to use that. i think the blackberry has the same behavior too...
Post a Comment