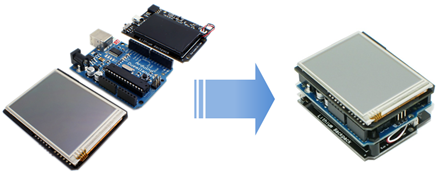
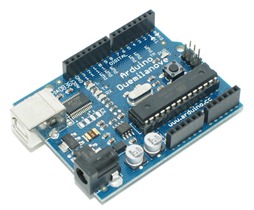
Matt and I have been building Arduino gadgets with shields for the past year or so. What I really like about the Arduino is that it has a standard pin header layout, which literally made DIY modular gadgets a snap:
 Looking at the BeagleBoard, however, it's not as obvious how to snap it all together.
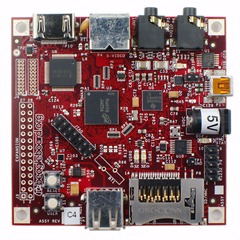 So I figured I would do a quick walkthrough of how to put together a DIY BeagleBoard gadget.
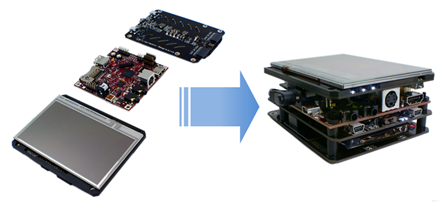
Step 1: Gather modules for the Beagle Gadget
One of the setups most folks used was a portable handheld display. It was a TouchShield Slide touchscreen on an Arduino Duemilanove, powered by a Lithium Backpack battery. Then it was just a matter of uploading different apps, menus, or pictures to the device.
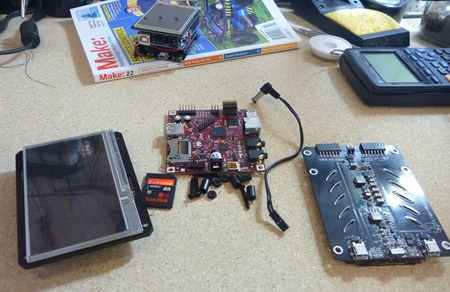
To make something similar for the BeagleBoard, I grabbed my BeagleTouch display, BeagleBoard, and BeagleJuice battery pack, and my pre-formatted Liquidware BeagleBoard Linux boot SD card.
Step 2: Solder on pin headers to the BeagleBoard
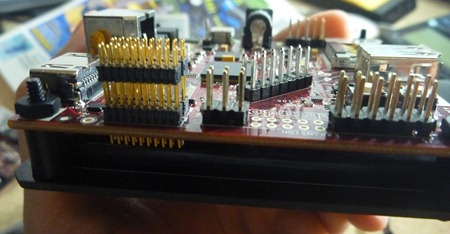
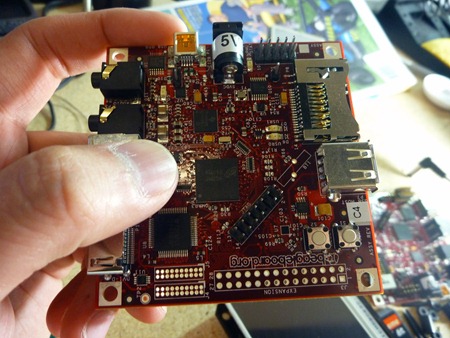
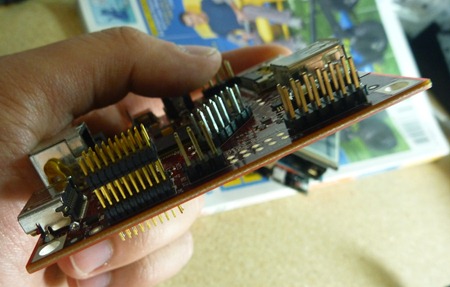
The BeagleBoard has quite a few expansion headers - much like the Arduino. But unlike the Arduino, the standard BeagleBoard comes with the headers unpopulated, and most people just put on the headers that they'll need or think they'll be using.
The BeagleTouch comes with a few extra headers that go onto the BeagleBoard, which I've soldered on like this:
Step 3: Mount the BeagleBoard on the BeagleJuice battery
Since the BeagleJuice only needs to plug into the BeagleBoard's power jack, I'm securing it to the backside of the BeagleBoard. Like with the Arduino's Lithium Backpack, I'm using some plastic screws and standoffs that came with the BeagleJuice.
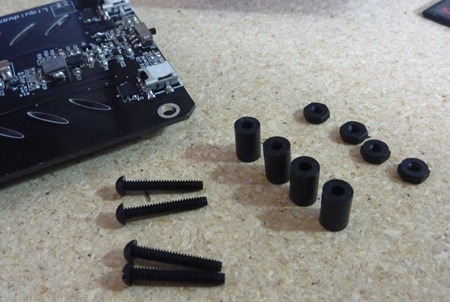
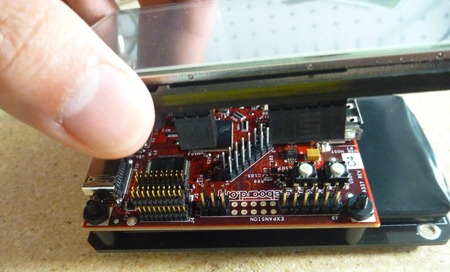
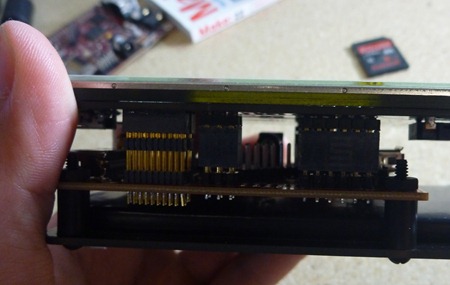
Step 4: Snap the BeagleTouch on the BeagleBoard and BeagleJuice
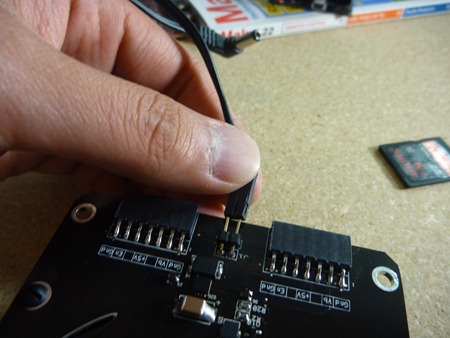
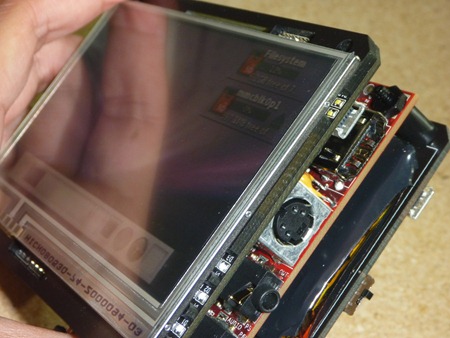
Now that I've added the expansion pin headers to the BeagleBoard, the BeagleTouch can snap right on. The back of the BeagleTouch also has female headers that connect to the BeagleBoard's serial pins, so I can talk to the entire setup over USB from my Linux laptop.
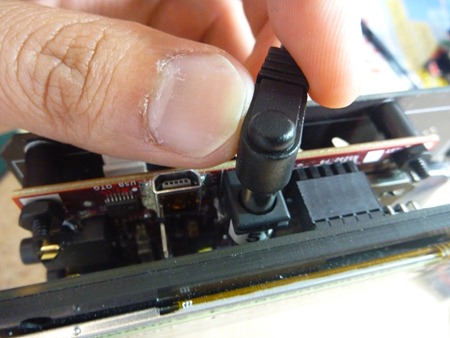
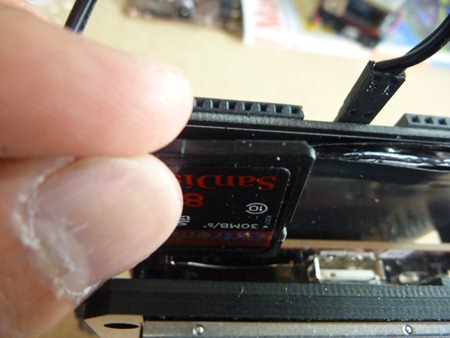
I've plugged in the BeagleJuice battery to the power jack, and I put the boot SD card into the BeagleBoard.
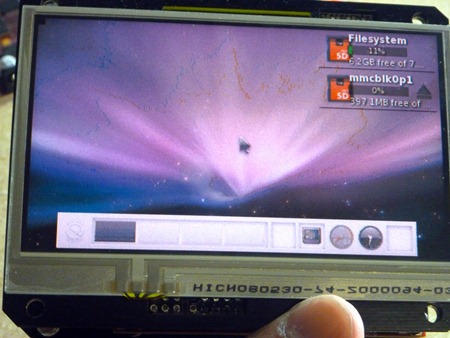
It's all ready to go, so now I just switch the power on, and Liquidware Beagle Linux boots up!
I've put everything I used in this tutorial over at the Liquidware shop, under Beagle Embedded Starter Kit. And here's a video demo of the Beagle gadget that Matt and I put together:

7 comments:
ps i'm wrapping up the schematics now... will post on github in a second...
What version of Linux is this?
@james - a slightly upgraded version of angstrom linux to include the proper device drivers for the touchscreen... working on porting android to it thought...
This is great - can I continue to use my Pico projector with this, after I've added the screen?
Will the BeagleBattery work with a 6A battery from Sparkfun?
@ibisum - yeah, i don't see why not - the beagletouch uses the stack through headers, not the display out port
@wolfskunk redwolf - wow, nice name! yeah, maybe, but i might be concerned about over-amping, so i'm going to buy one and try it out, i'll let you know what i find...
Post a Comment